Learning how to reduce background noise on video calls is one of the most impactful things you can do for your remote work presence. You’re three minutes into a client presentation when your neighbor’s leaf blower fires up. Your dog chooses that exact moment to bark at a delivery. Your mechanical keyboard, the one you type 80 words per minute on with joy, sounds like a machine gun to everyone else on the call.
Background noise does more than annoy people. It signals unprofessionalism. And after a while, people stop straining to hear you and just tune out. In a remote work world where your voice is your primary professional presence, bad audio costs you credibility, clients, and career opportunities.
You don’t need a recording studio to sound clear on calls. With a few software tweaks, the right microphone positioning, and some low-cost room adjustments, you can eliminate most background noise in an afternoon.
Here’s what actually works, starting with the free fixes and working up to the hardware investments that actually make a difference.
Quick-Win Checklist: 5 Fixes in 10 Minutes
In a hurry? Here’s what works right now.
If you have a call starting in 10 minutes and need better audio now, here’s your triage list for how to reduce background noise on video calls fast.
- Enable high noise suppression in your call platform settings (Zoom/Teams/Meet). Takes 30 seconds.
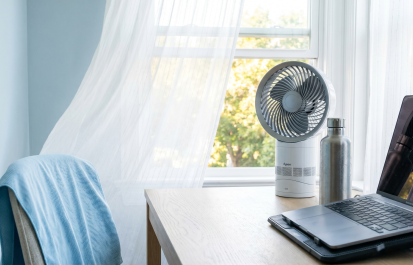
- Close your door and turn off any fans or air purifiers near your desk. 20 seconds.
- Move closer to your mic – prop your laptop on a book to raise the screen, bringing the built-in mic closer. 60 seconds.
- Mute when not speaking – tap the spacebar (Zoom push-to-talk) or the mute button whenever you’re listening. Instant.
- Throw a blanket or towel over the hard surface behind you – if your back is to a bare wall or window, draping fabric reduces echo. 60 seconds.
That’s five changes in under five minutes that will make you sound noticeably better on your next call.
Want to understand why these work and when to invest in hardware? Keep reading.
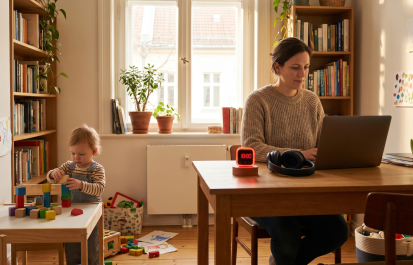
Why Background Noise Happens (And Why Your Laptop Mic Makes It Worse)
First, know what you’re fighting. Your laptop’s built-in microphone is designed to pick up sound from everywhere. It’s omnidirectional. It captures your voice, but it also grabs every keyboard click, every fan whir, every conversation happening two rooms over. It doesn’t discriminate.
Background noise on video calls typically comes from three sources.
- Environmental noise – traffic, construction, appliances, other people in your home.
- Mechanical noise – your keyboard, your mouse, your chair squeaking, your desk fan.
- Room acoustics – sound bouncing off hard surfaces like bare walls and windows, creating echo and reverb.
The fix for each is different. And the most effective approach addresses all three. Start with the free software solutions, then move to hardware and room treatment as needed.
Software Solutions: The Fastest Way to Reduce Background Noise on Video Calls
Before you spend a dollar on gear, use the noise suppression tools you already have. Modern video call platforms include surprisingly good background noise filtering. Most people just haven’t turned it on.
Zoom Noise Suppression
To reduce background noise on Zoom, open Settings → Audio → Suppress Background Noise and select High. This single setting eliminates most keyboard, fan, and ambient noise in real time and takes under 30 seconds to enable.
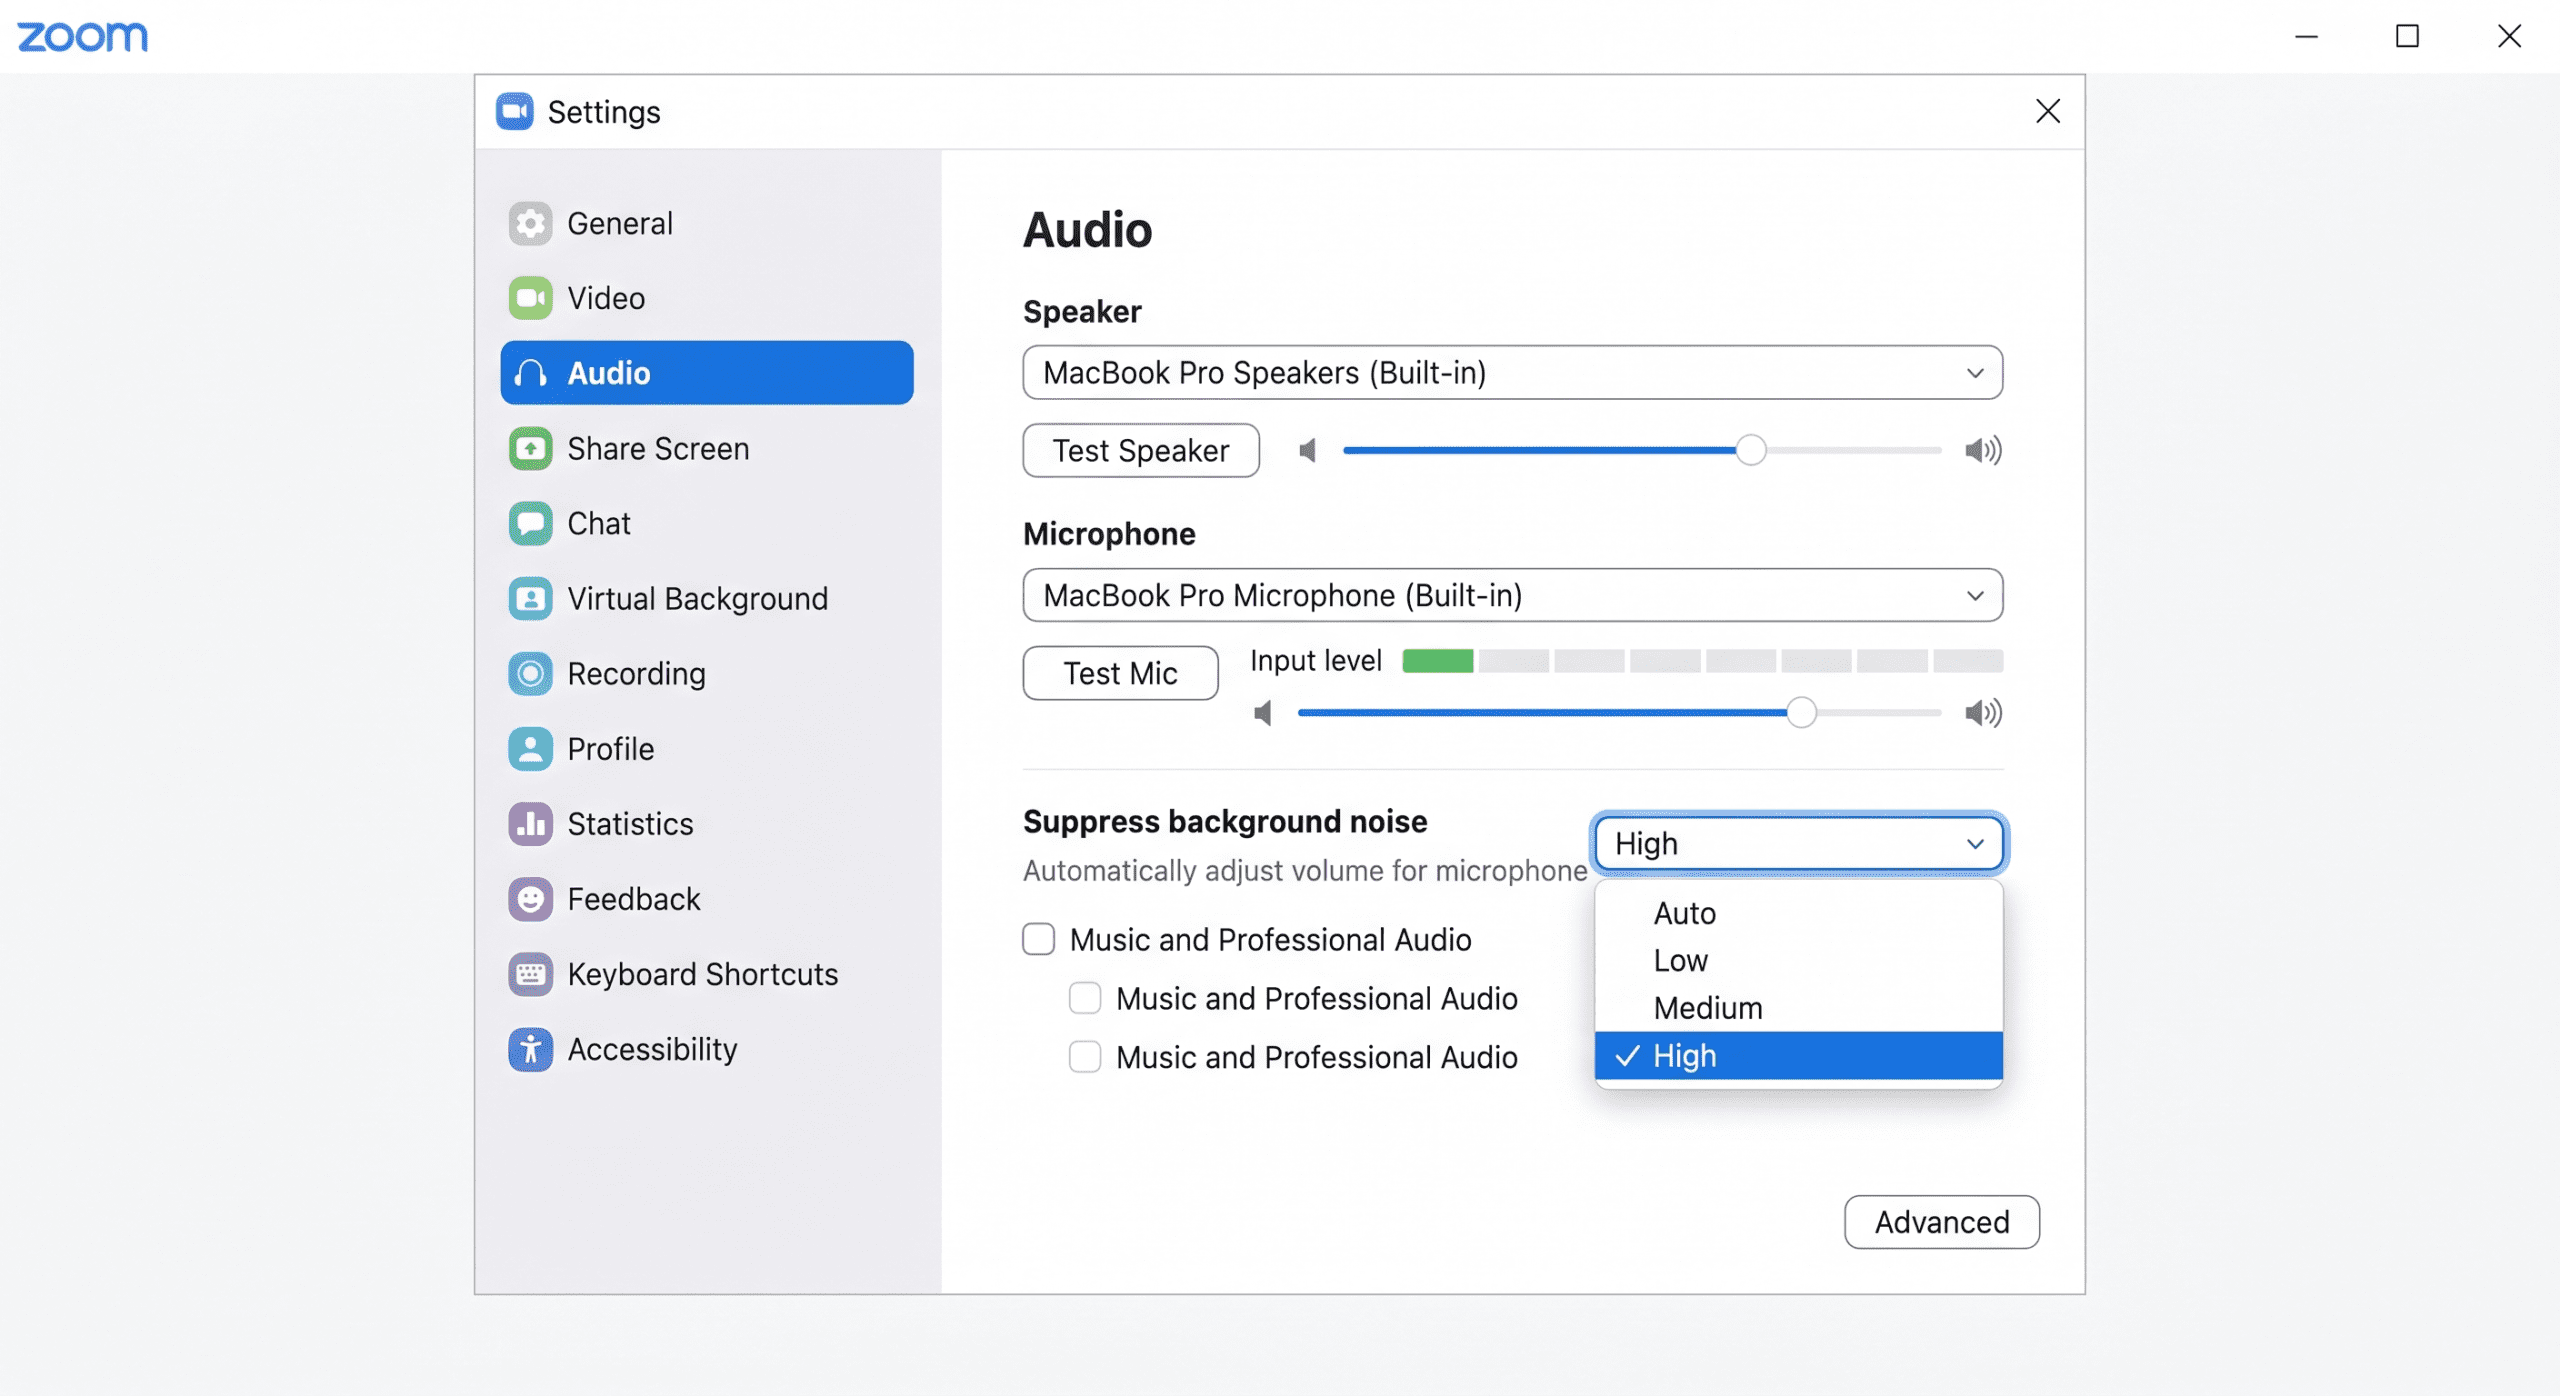
Zoom offers three levels of background noise suppression. Auto: Zoom decides how much filtering to apply based on what it detects. This works well for most people. Low: minimal filtering that allows quiet background music or ambiance through. Use this if you’re recording music. High: aggressive noise removal that eliminates typing, fan noise, and street sounds almost completely. This is the setting you want for most professional calls.
To enable it, open Zoom Settings → Audio → under “Suppress background noise,” select High. If you’re a musician or recording something where background ambiance matters, drop it to Low. Otherwise, leave it on High permanently. Your colleagues will thank you.
Microsoft Teams Noise Suppression
To reduce background noise on Microsoft Teams, go to Settings → Devices → Noise suppression and select High. Teams uses AI-powered filtering that removes keyboard clicks, paper shuffling, and background voices during live calls.
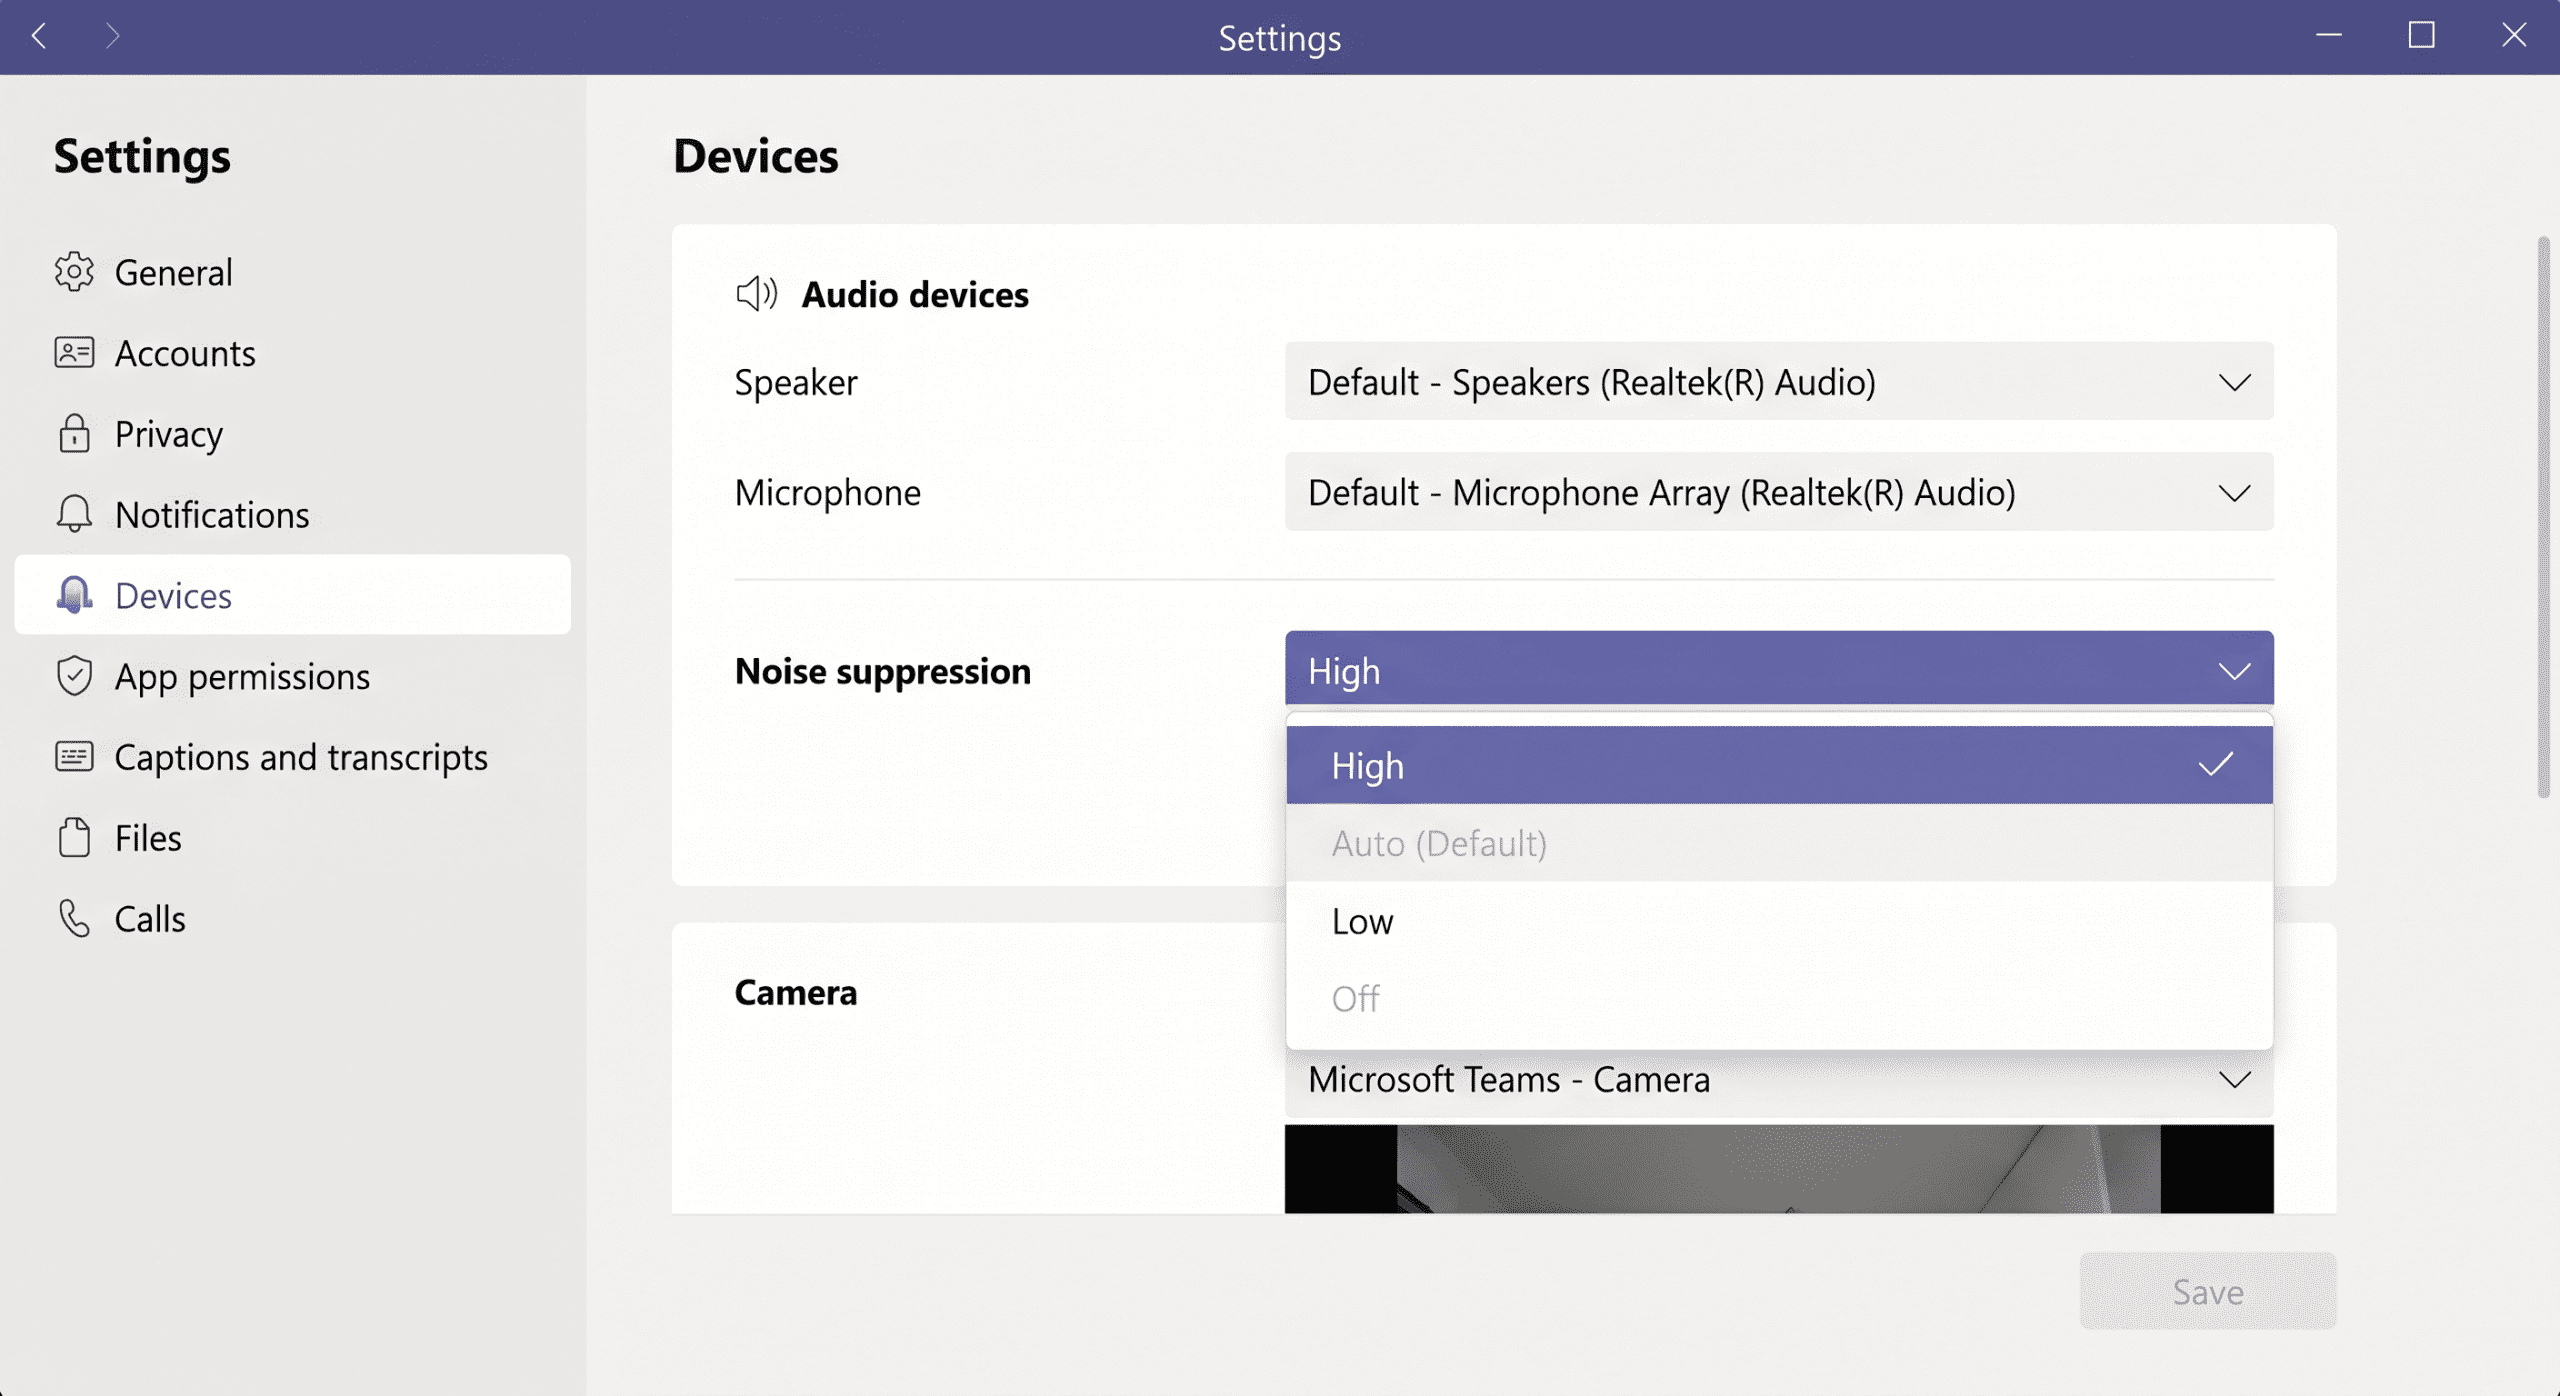
Teams uses AI-powered noise cancellation that can remove keyboard clicking, paper shuffling, and even barking dogs in real-time. It’s built into every version and works across Windows, Mac, and the web client.
To enable it, open Settings → Devices → under “Noise suppression,” choose High. Teams also offers an “Auto” mode that dynamically adjusts based on your environment. A good middle ground if you switch between quiet and noisy spaces throughout the day.
You can also toggle noise suppression mid-call without leaving the meeting. Click the three-dot “More” menu during a call, select “Device settings,” and adjust the noise suppression level on the fly. Useful when the dog decides to bark exactly when your boss asks a question.
For the best results, combine Teams noise suppression with a good headset that has a boom microphone. Teams optimizes its noise cancellation to work especially well with certified headsets.
Google Meet Noise Cancellation
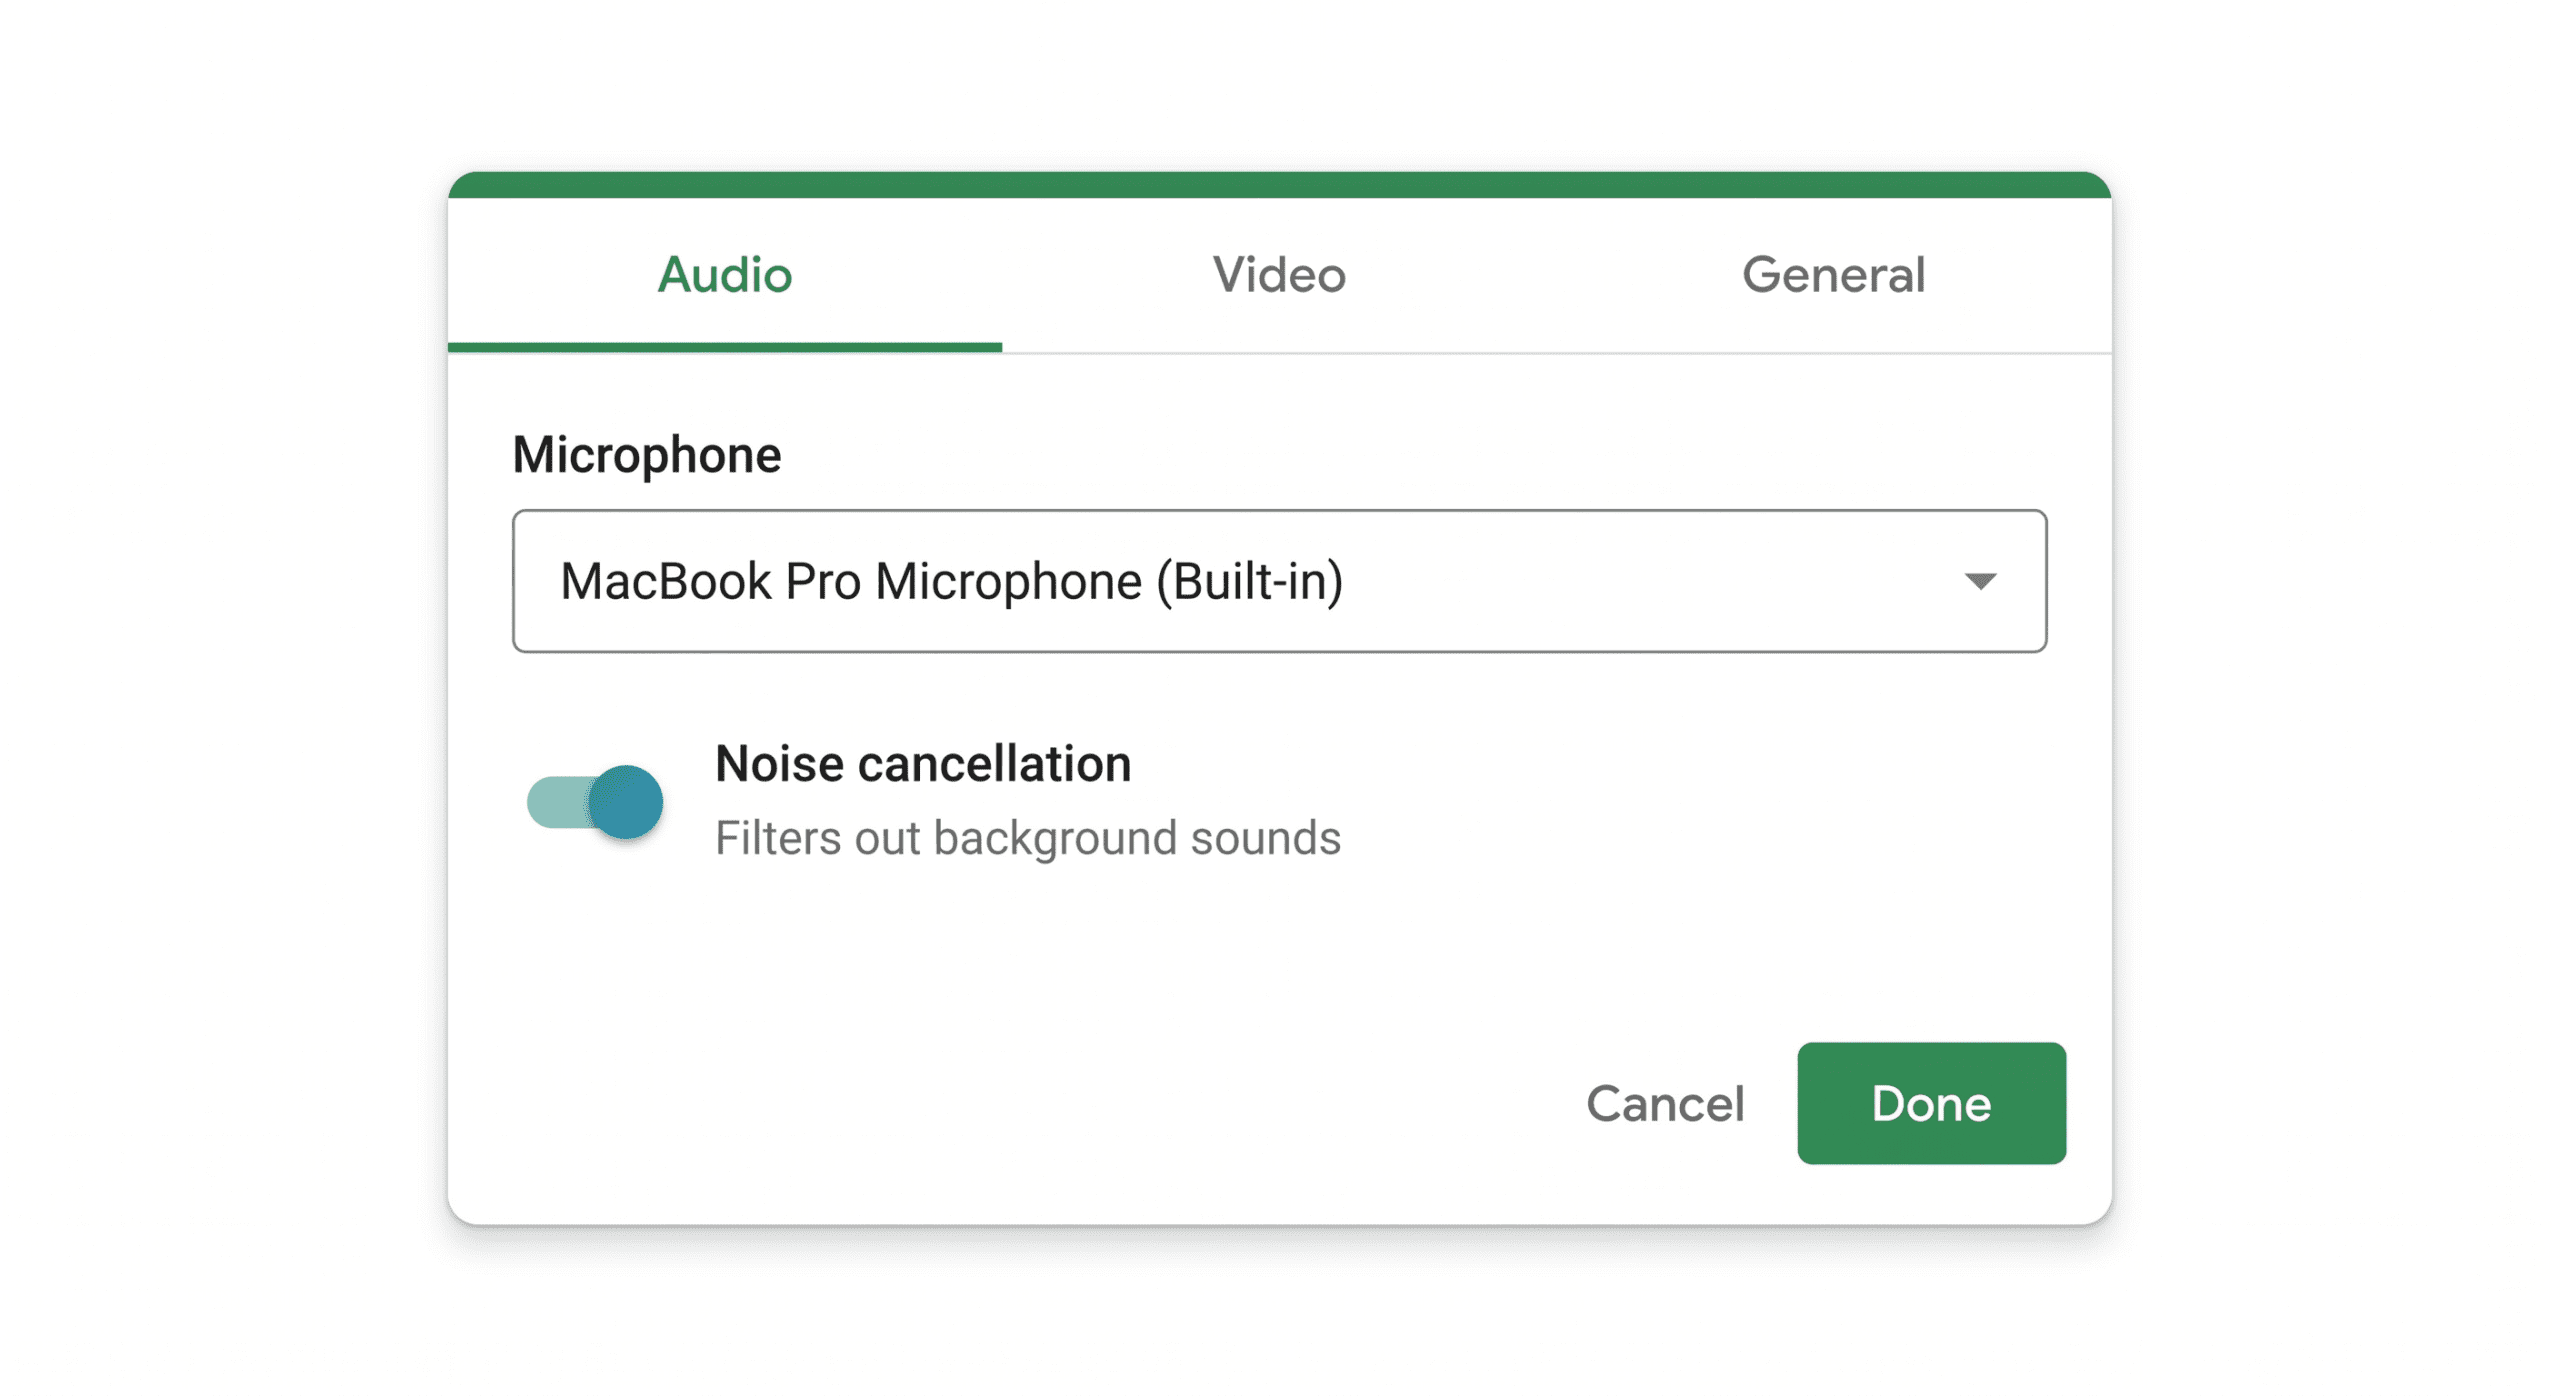
Google Meet enables noise cancellation by default for most Workspace accounts. Confirm it is active under Settings → Audio → Noise cancellation. If toggled off, re-enable it — Meet’s suppression handles most common home office background sounds automatically.
Krisp: The Third-Party Power Tool
Krisp is a system-level noise cancellation tool that works across every app using your microphone — Zoom, Teams, Meet, and any other platform. The free tier provides 60 minutes of daily noise removal with no audio quality loss.
If your calls happen across multiple platforms, Krisp is worth installing. Zoom for clients, Meet for internal standups, Teams for cross-company syncs — it covers all of them. It works as a system-level audio filter, cleaning up both your outgoing audio AND incoming noise from other people’s calls.
Krisp can remove background noise in real-time with impressively low latency. It works with any app that uses your microphone: video calls, voice recordings, even gaming. The free tier gives you 60 minutes of noise cancellation per day, which covers most daily meeting loads. The Pro tier ($8/month) removes the limit and adds accent localization features.
Platform-Specific Quick Wins
- Google Meet – noise cancellation is on by default in most Workspace accounts. Check Settings → Audio → Noise cancellation to confirm it’s set to on.
- Slack Huddles – noise suppression is automatic and can’t be toggled. Built into every Huddle by default.
- Discord – krisp noise suppression is built-in and free. Settings → Voice & Video → Enable Noise Suppression.
One Setting That Changes Everything: Push-to-Talk
This sounds obvious but almost nobody uses it: enable push-to-talk when you’re not speaking. Most platforms support it (Zoom: Settings → Audio → “Press and hold SPACE key to temporarily unmute yourself”).
If you’re in a noisy environment and mostly listening, push-to-talk eliminates all background noise during your silent periods. Pair it with high noise suppression when you’re actively speaking and you’ve solved the software side completely.
Hardware Solutions: What Actually Makes a Difference
Software can only do so much. If your microphone is picking up noise before the software even sees the signal, you need to address the hardware layer. And honestly, the laptop mic is the problem 90% of the time.
The Problem With Built-In Laptop Mics
Your laptop microphone has three fundamental problems. It’s omnidirectional, picking up sound equally from all directions. It’s far from your mouth, usually 18–24 inches away, which means it has to boost gain significantly to hear you and amplifies noise in the process. And it’s physically connected to your laptop, so every keystroke transmits vibration directly into the microphone housing.
You can’t fix the third problem without external hardware. But you can dramatically improve the first two with a $30 investment.
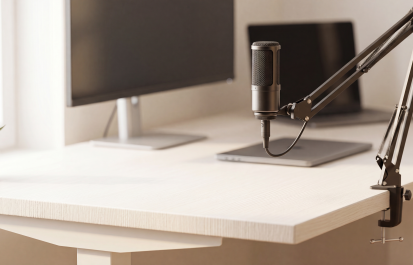
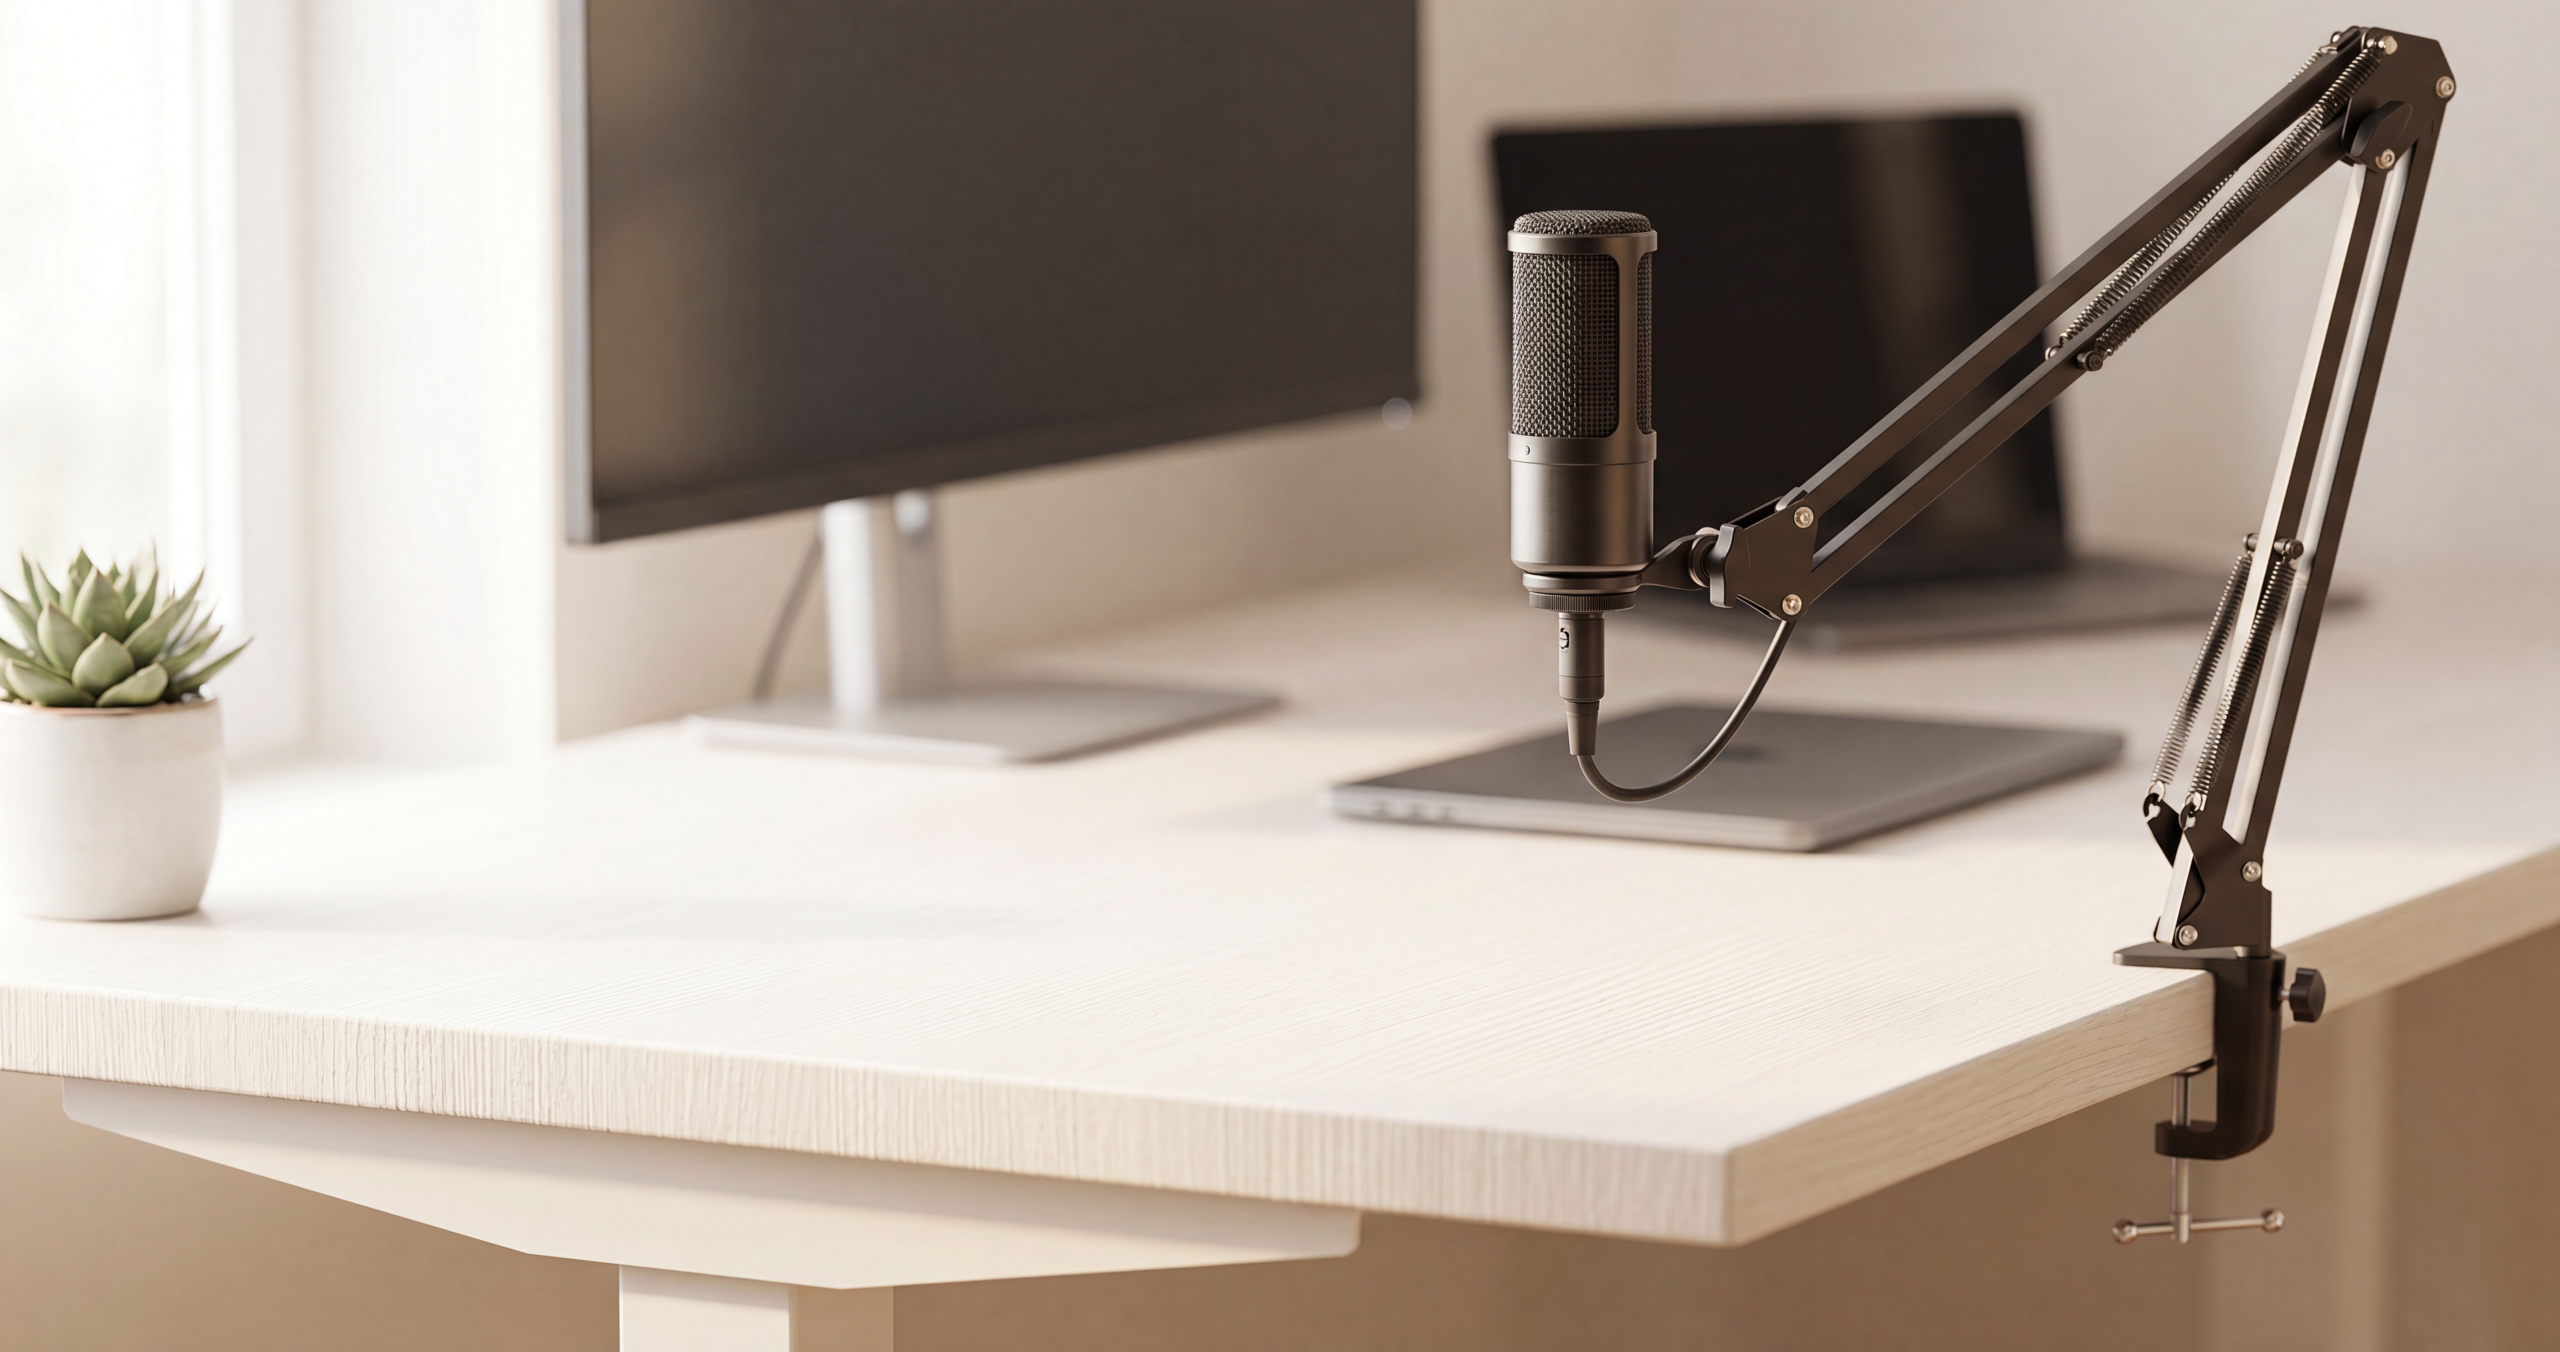
Get a Directional Microphone
A directional (cardioid) microphone picks up sound primarily from the front and rejects sound from the sides and rear. This alone eliminates most room noise. The fan behind you. The window to your left. The conversation across the room.
You don’t need a $400 broadcast mic. A basic USB cardioid microphone in the $30–$60 range will dramatically outperform your laptop mic. Look for a cardioid or supercardioid polar pattern, USB connection with no extra gear needed, and a physical mute button.
Position the mic 4–8 inches from your mouth, slightly off to the side to avoid plosives (those popping P and B sounds). Point the back of the mic toward the noise source you want to reject.
If you take a lot of calls and want a microphone that’s genuinely been tested in real remote-work conditions like coffee shops, coworking spaces, and hotel rooms, we’ve tested and ranked the best microphones for remote work meetings across noise levels, portability, and price points.
Microphone Positioning That Costs Nothing
If you’re not ready to buy new hardware, use what you have better.
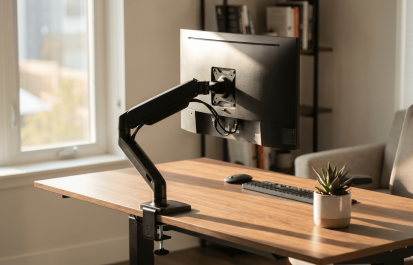
- Get closer – move your laptop so the built-in mic is 8–12 inches from your mouth instead of 24. This increases your voice volume relative to background noise.
- Angle away from noise – your laptop mic is typically at the top of the screen bezel. If your window is on the left, angle your laptop slightly right so the mic isn’t pointed directly at the noise source.
- Raise your laptop – a $20 laptop stand lifts the microphone closer to mouth level, reducing the gain needed and improving voice pickup.
Headset vs Desktop Mic: Which One for You?
Headsets with boom microphones place the mic inches from your mouth, delivering excellent noise rejection by sheer proximity. They’re portable and work anywhere. The trade-off: they can be uncomfortable during long sessions and some people don’t like the look.
If you’re looking for a headset that blocks noise in both directions, keeping your calls quiet AND blocking out the world around you, check out our guide to the best noise-canceling headphones for remote work.
Desktop USB microphones sound better for longer sessions, give you more flexibility in positioning, and don’t clamp onto your head for hours. The trade-off: they pick up more room sound than a close-mic’d headset, and they take up desk space.
If you take calls from noisy environments, go headset. If you’re in a reasonably quiet home office and want better sound quality, go desktop USB mic.
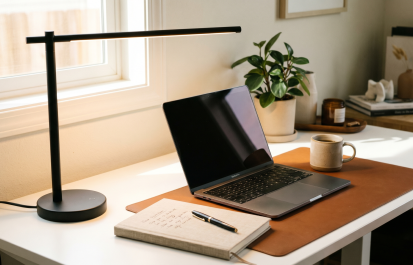
Room Treatment: Fix Your Space for Under $50
You’ve optimized your software settings. You’ve positioned your microphone correctly. But your audio still has that hollow, echoey quality that screams “I’m in an empty room.” That’s room acoustics: sound waves bouncing off hard surfaces and arriving at your microphone at slightly different times, creating reverb.
Here’s how to fix it without turning your home office into a recording studio.
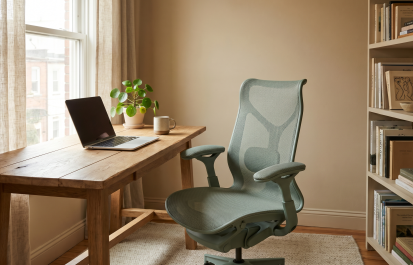
Soft Surfaces Absorb Sound
The cheapest and most effective acoustic treatment: add soft stuff to your room.
- A rug on hard floors – bare floors are the #1 cause of room echo. A $40 area rug under your desk area absorbs a surprising amount of reflected sound.
- Curtains on windows – glass is acoustically reflective. Even thin curtains help. Thick blackout curtains help more and block glare on your screen.
- Bookshelves – irregular surfaces scatter sound waves instead of reflecting them cleanly. A bookshelf on the wall behind you or to your side acts as a natural diffuser.
- Fabric wall hangings – a tapestry, a fabric pinboard, or even a thick blanket hung on a wall opposite your desk reduces echo significantly.
You don’t need professional acoustic panels from a music store. Any soft, porous surface in your room helps. Most home offices already have curtains and maybe a rug. Start with what you have and add from there. For a deeper dive into optimizing your entire workspace (including desk positioning, monitor height, and everything beyond acoustics), see our complete ergonomic home office setup guide.
Close the Door and Manage Your Environment
- Close your door. Five seconds of effort eliminates noise from the rest of your home.
- Put a towel under the door if there’s a gap. It blocks sound from hallways.
- Turn off fans, air purifiers, and space heaters during calls. You can turn them back on after.
- Move your desk away from shared walls if possible, especially walls adjacent to the kitchen or living room.
- Let household members know your call schedule. A simple “on calls 10–12” sticky note on your door prevents most interruptions.
The $0 Echo Fix: Record a Test Call
Before your next important meeting, record a 30-second test call. Most platforms let you do this.
- Zoom: Settings → Audio → “Test Speaker & Microphone.” It records a clip and plays it back.
- Teams: Settings → Devices → “Make a test call.”
- Meet: Create a meeting with just yourself and check the audio indicator.
Listen for echo, background hum, and keyboard noise. Adjust your positioning and settings based on what you actually hear, not what you think should work.
When to Upgrade Your Setup
Start with the free fixes first. In order of impact-per-dollar:
- Software noise suppression – free, takes 30 seconds to enable, works immediately.
- Room adjustments – free to $50, permanent improvement for all future calls.
- Microphone positioning – free. Just move what you already have closer.
- A USB cardioid microphone – $30–$60, the single biggest hardware upgrade you can make.
- Acoustic treatment – $20–$100 for rug, curtains, and soft surfaces.
Your audio doesn’t need to be broadcast-quality. It just needs to be clear enough that people stop asking you to repeat yourself. For most remote workers, the first three items on this list will get you there. The last two are for when your voice is a core part of your work: you present frequently, record videos, or meet with clients who care about production quality.
If you’re ready to upgrade your microphone, we’ve tested over 30 options across real remote work environments. Apartments. Coffee shops. Airplanes. Our best microphones for remote work meetings guide covers every budget and use case, from $30 plug-and-play USB mics to professional broadcast setups.
Frequently Asked Questions
How do I reduce background noise on Zoom calls?
Open Zoom Settings → Audio → set “Suppress background noise” to High. This filters keyboard clicks, fan noise, and ambient sound in real time. For persistent noise problems, combine it with a directional USB microphone positioned 4–8 inches from your mouth.
What is the best free tool to remove background noise from video calls?
Zoom, Microsoft Teams, and Google Meet all include built-in noise suppression at no extra cost. For cross-platform noise removal, Krisp offers 60 free minutes per day and works with any app that uses your microphone.
Does a better microphone really reduce background noise?
Yes — a cardioid (directional) USB microphone rejects sound from the sides and rear, capturing primarily your voice. Even a $30–$60 USB cardioid mic dramatically outperforms a laptop’s built-in omnidirectional mic in noisy environments.
How do I stop echo on video calls?
Echo is caused by sound bouncing off hard surfaces. Add soft materials to your space: a rug on bare floors, curtains on windows, and a bookshelf or fabric hanging on the wall behind you. Close your door and move your desk away from bare walls if possible.
Is Krisp worth it for remote workers?
The free tier (60 min/day) covers most daily meeting loads. The Pro tier ($8/month) is worth it if you use multiple video call platforms or take long calls frequently. Krisp works at the system level so it cleans up noise across every app simultaneously.
Mastering how to reduce background noise on video calls doesn’t require expensive gear or a recording studio. Start with the free platform settings you already have enabled, spend $30–$60 on a directional mic if your laptop mic is fighting you, and treat your room with the soft surfaces you probably already own. Clear audio is one of the highest-ROI investments you can make in your remote work setup. Once you experience a full week of calls where nobody asks you to repeat yourself, you’ll wonder why you didn’t do this sooner.
Sophia Carter has spent years testing productivity tools and workspace setups. She helps remote workers build efficient home offices that support deep focus, ergonomics, and better workflows.